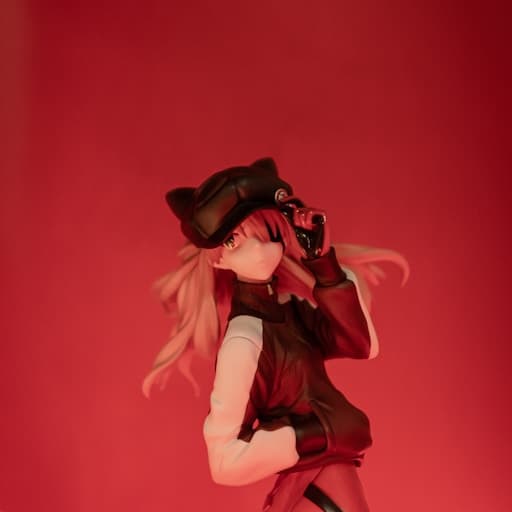
How to Upscale Anime and Illustration Art Without Blurry Lines
Photo upscalers sharpen the wrong things on anime art. Use an illustration-tuned model and conservative scale steps instead.
··6 min read
Pixlift Enhancer Editorial — Practical upscaling guides written and reviewed against live product limits, pricing tiers, and model gates. FAQ · Privacy
Anime-style art — whether hand-drawn, game assets, or AI-generated illustrations — has hard edges, flat color fills, and deliberate banding. Photo-oriented upscalers treat those regions like skin texture and add unwanted noise. An anime-tuned super-resolution model preserves line weight and keeps gradients smooth.
Common problems with the wrong upscaler
Halos around black outlines near bright backgrounds.
Speckle noise inside flat sky or skin-tone areas.
Wobbly line art that looked crisp at native resolution.
Color drift in highly saturated highlights.
Pick the Anime model on Pro
Pixlift Enhancer routes illustration work through an Anime checkpoint on paid plans. It is trained on artwork where edges matter more than pore detail. For mixed scenes — say, a cel-shaded character on a photographic background — run two passes: Anime on the illustration export, or General if the piece is mostly photorealistic.
Scale in steps when quality matters
Jumping straight to 4× (the Anime model maximum on Pro) can stress a very small source. If your input is under 512 px wide, try 2× first and inspect line art at 200% zoom. You can run a second pass on the output if you need more pixels for print. Each pass uses a daily upscale from your plan — plan accordingly.
Use cases beyond fan art
Visual novel backgrounds and character sprites.
Indie game Steam capsule art from small master files.
Vtuber assets and sticker packs for Discord.
Midjourney, Stable Diffusion, and DALL·E outputs with flat shading.
See before/after examples in our gallery, then open the workspace with a sample file to compare Anime vs General on your own art.